Monday, January 31, 2011

Personalized letters

Wyatt!!!  Such a great name. It is always fun for me to put these letters
together for special people in my life that are expecting precious babies.


 I used Celebrations DSP!  Perfect for a baby boy.
 All the ribbons are Stampin up ribbon and go perfectly with the 
designer paper.
 
Mod Podge is great for this project because it go on smooth and I just apply like wallpaper.
I do not like the look of it on top of the paper so I only use it to adhere.That is personal preference.
 After it dries I use a regular nail file to file down all the paper that may have been cut to large.
This gives it a nice clean edge.
 Then you can add all of the decorations that you want.

So cute.

Hope you have a wonderful Monday!!!

Thursday, December 9, 2010

Christmas at My House


  I decided to do things a little different this year. This is the tree that I usually put in front of the spiral staircase. Now it is in our front window. Every year I add something new to the tree.  It has made it easier on the pocket book to decorate such a large tree.  It is 12 foot tall. 

 I added the green ribbon, brown and green ornaments and gold leaves this year. I am not really liking the green.  I love the color but on a green tree they just don't pop out enough for me. I wasn't about to change it after it was done, but next year I will do something different.


 I ordered the fresh garland from a Young Life group.  I am not sure where they get it but it is such a deal. Things like this are not easy to get in Phoenix.  Maybe they get it from Flagstaff. Yes, in Arizona we do have pine trees and snow. It is only a 2 hour drive from Phoenix.

 I love this Nativity.  A gift from my husband year ago and was purchased at Costco.  They always have great deals there on Nativities.  They are always so pretty.
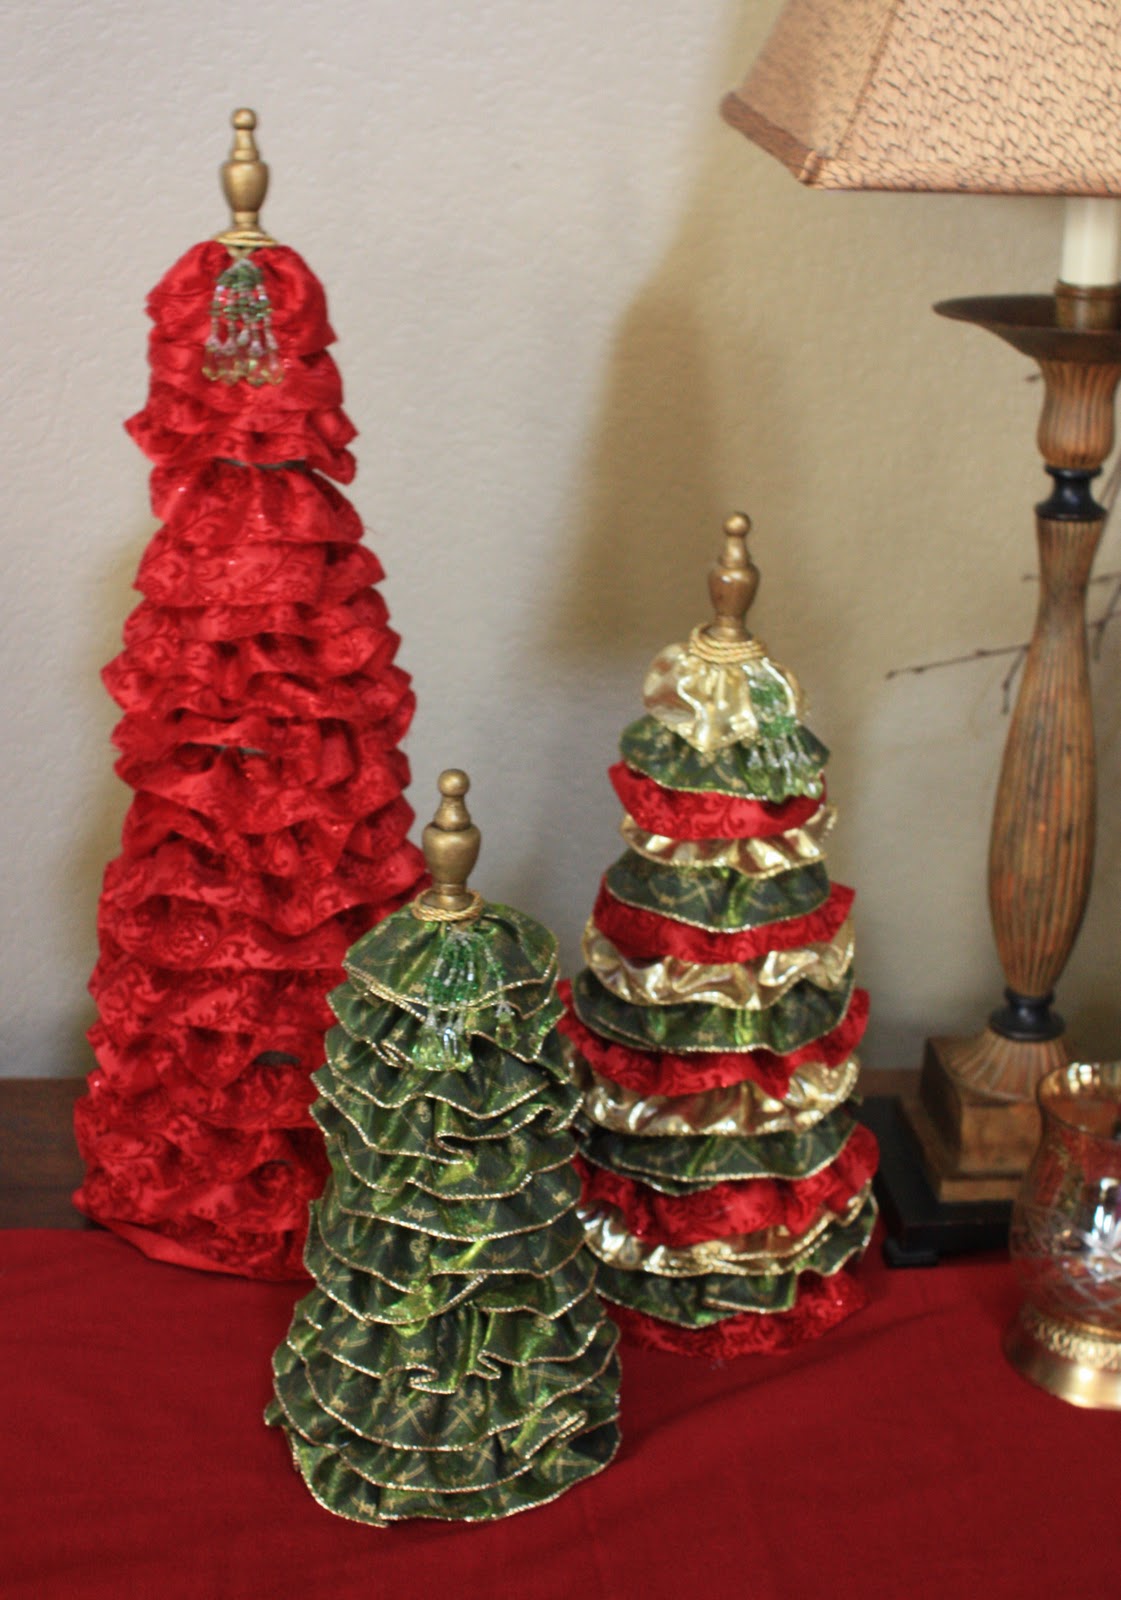
 I made these ribbon trees for a gift. I got the idea from Shanty 2 Chic.  She used fabric and a ruffler with her sewing machine. I don't sew (wish I did) so I used ribbon.  I just pulled the wire along the ribbon to create the same type of ruffle.  Took a loooooonnnnggggg time but it was worth it.

 Here is the set I made for myself!
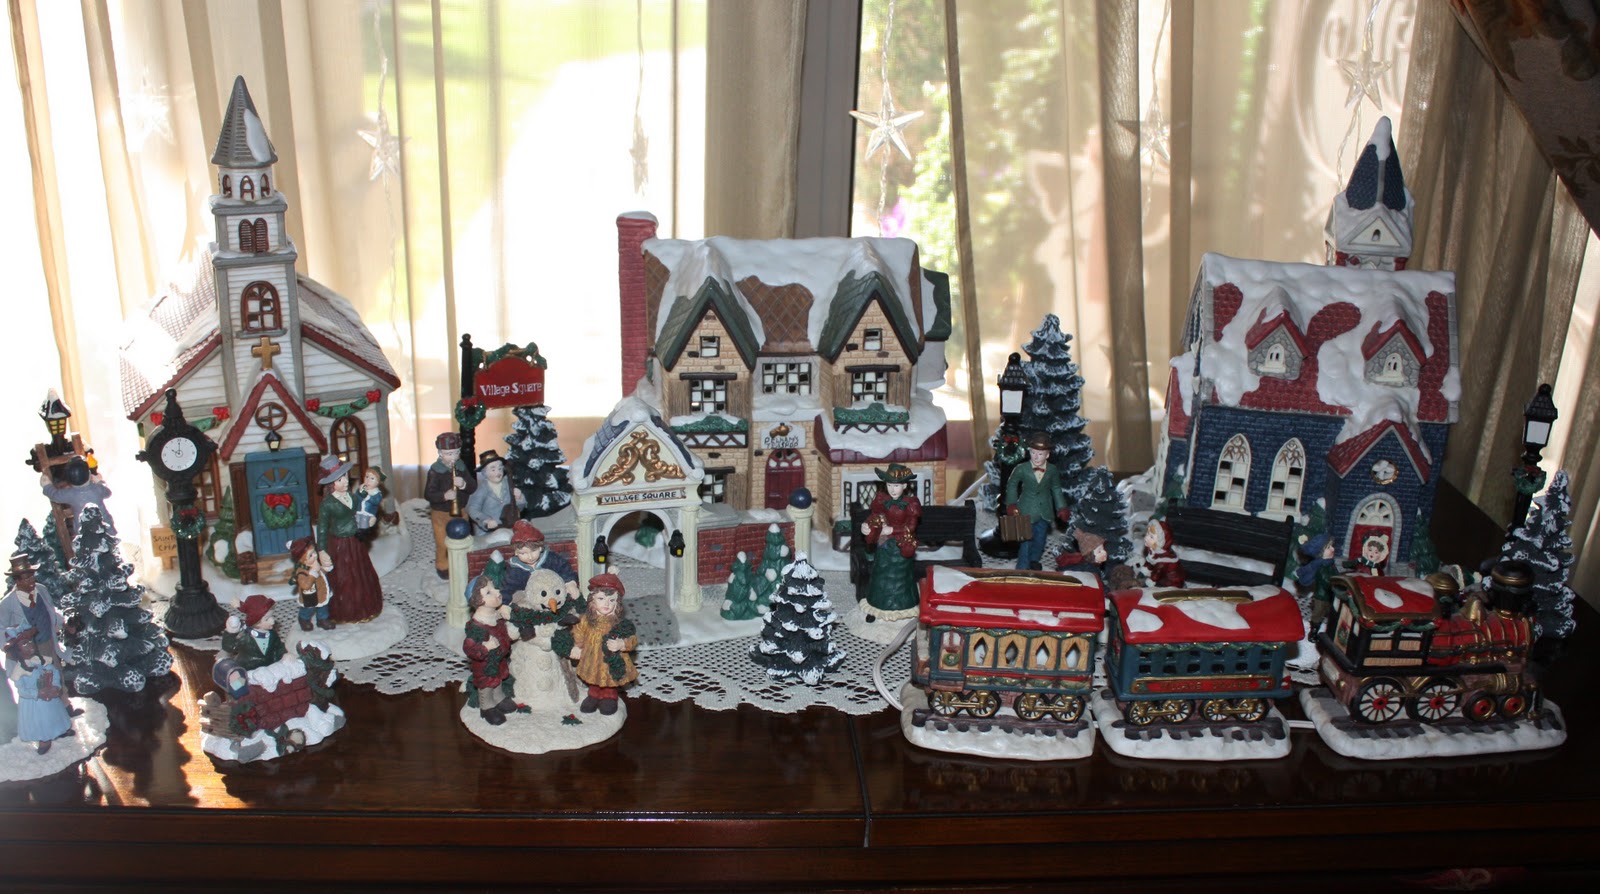
 My kids have always loved this village.  I have tried NOT to put it out some years but they have a fit. So, we always end up putting it out.
 I order this fresh swag along with the garland.  I filled my apothecary jars with assorted ornaments and some beaded garland.
 I wish this picture wasn't blurry.  Sorry about that but I do love this table.  I collect snowmen and I bought the bowl at a barn sale a month ago.
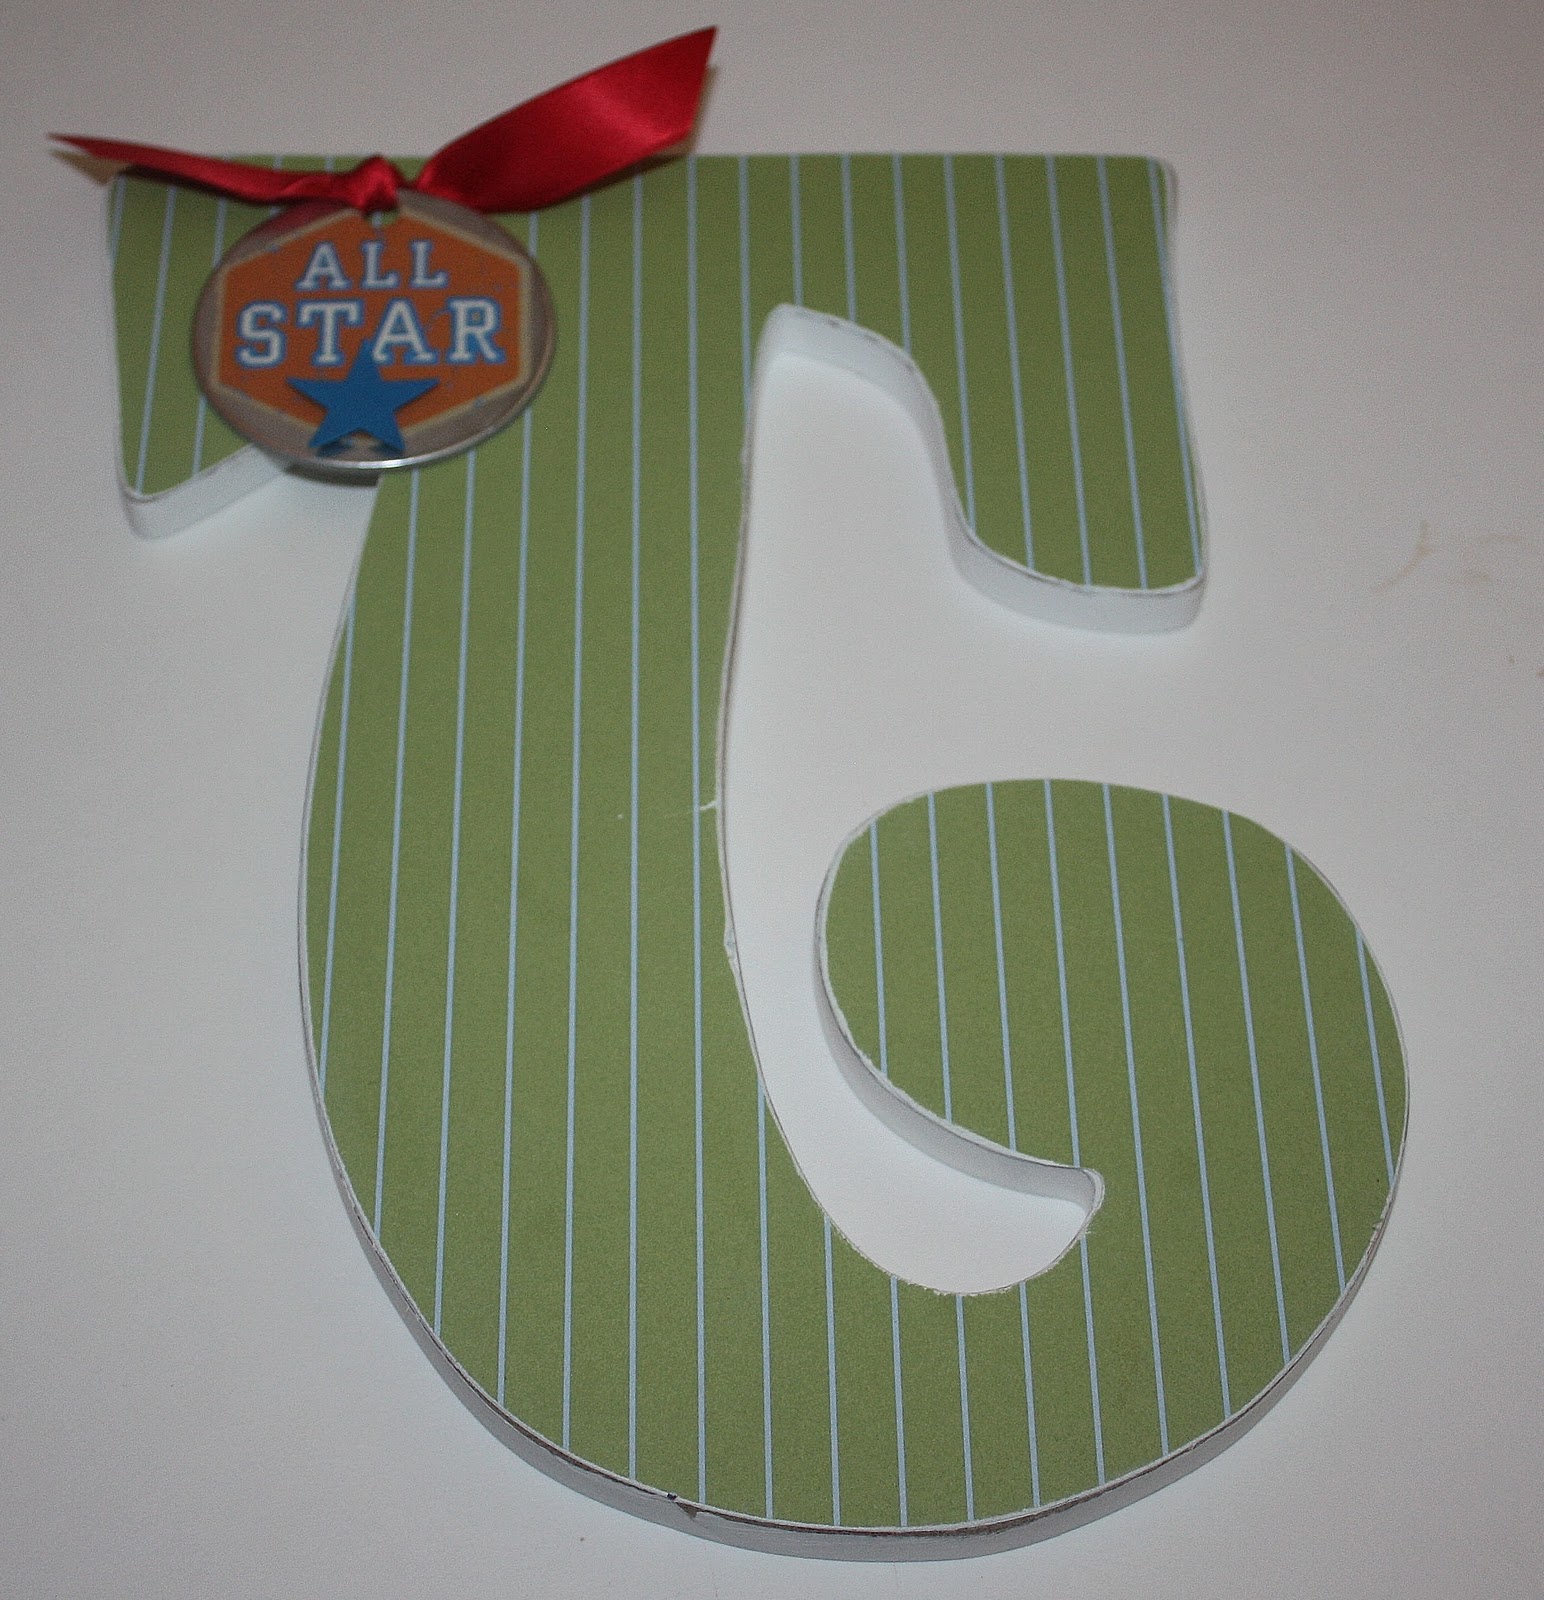
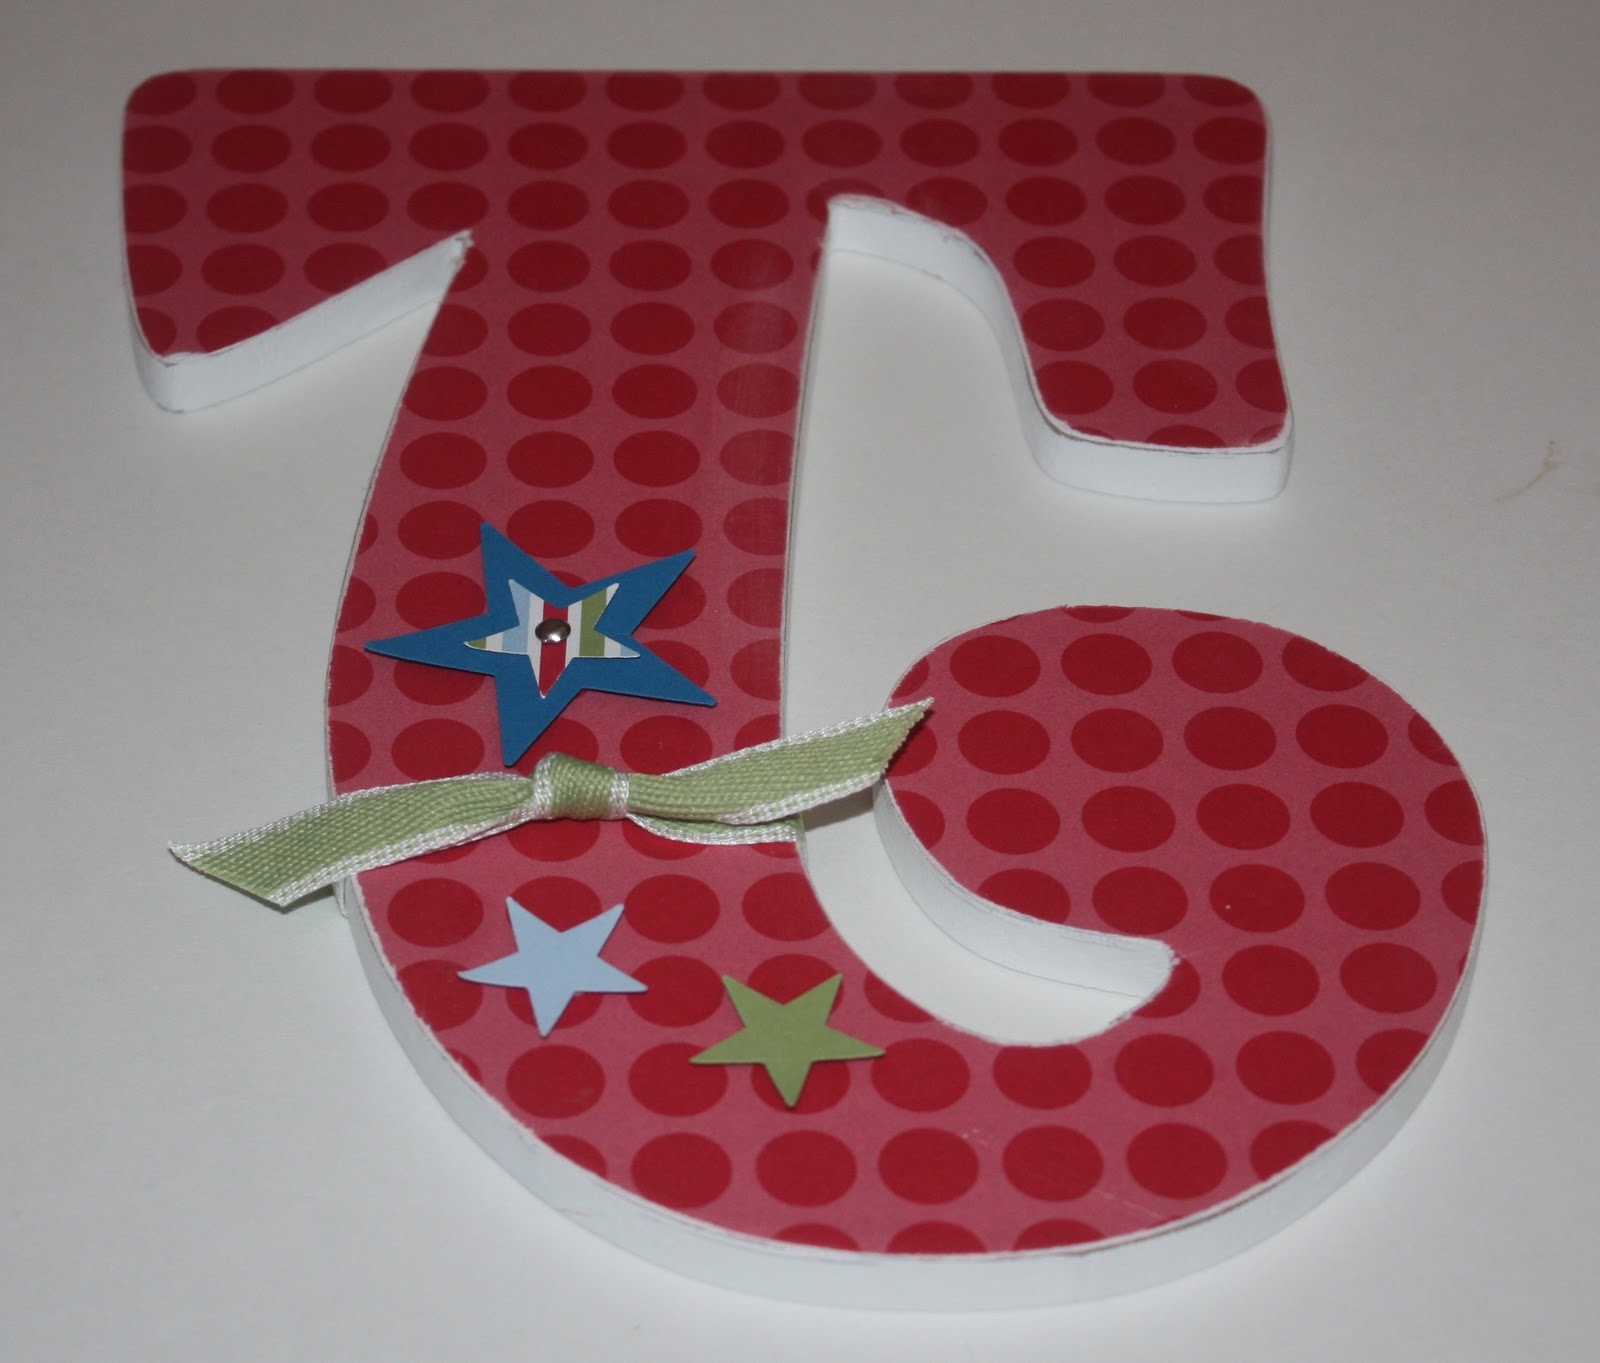
 I made this at a Christmas party with my fellow Stampin up demonstrators.  We had a great time and this was a great project.

 This tree is in my family room and it holds all the ornaments my moms (my mom and other mom, I was blessed with another mom when my dad remarried)  got me every year for Christmas and all the ornaments I buy my children and husband every year for Christmas. 
 My kids expect these and can't wait to see what I pick for them every year.  The ornament I choose has something to do with an event in the past year. The little boy and girl was given to us the first year we were married 21 1/2 years ago.
I had the cookie jar from last yer but I painted the snowman at one of those pottery painting places.  I didn't even know they matched until I pulled the cookie jar out of storage.  What a nice surprise! 
Hope you have a wonderful Christmas season!  God Bless!

I am linking up with:

Friday, October 29, 2010

Fall Gift Tin


My sister-in-law and one of my BFF's has this great job being the Activity Director at a retirement home. She has asked me to help her come up with craft ideas a few times. This is the latest one we did. I used the Autumn Spice DSP to wrap the candy. The paper is a heavy weight card stock so it is best to wrap the paper around your finger a couple of times after you have cut it to the size you want for the candy. It will help the tape hold it together. For the pumpkins I used the new medium oval punch and the 1 3/8 x 5/8 oval large punch. I punched out 3 of each and adhered two together and the last one on top, in the middle. The stems for the paper can be made with ribbon or colored cardstock.


For the strips of paper that cover the candy I cut them 1x3 inches and alternated the color on the front and back of the DSP. These make a really great gifts and really don't take long to put together.
Enjoy your day!!!

Thursday, October 28, 2010

Christmas Swap


I loved making these adorable ornaments for my swap this month. It was a bummer because I ended up being sick that night with a cold and couldn't hand them out myself. :( I heard that everyone liked them a lot and I cannot wait to make more of them.

I used Deck The Halls DSP and traced the ornament and snowflake (which were chipboard I picked up at a local craft store) I cut the pattern out and then cut it in half to use both sides of the DSP. I used mod podge to adhere the paper to the chipboard. I filed down all the edges with a heavy duty nail file to make them smooth. I then used the 1/2 inch seam binding to cover the seam. I used the sizzlit snowflake #2 and the new snowflake punch out of the mini to cut two snowflakes out of whatever cardstock I felt went with the colors I was using. Deck The Halls DSP has a variety of colors to choose from--cherry cobbler, soft suede, very vanilla, early espresso, always artichoke and crumb cake.

I used a brad to hold the two snowflakes together and adhered it with a stampin up dimensional. To me they turned out better than I imagined.

It really is hard for me to pick a favorite.


I hope you enjoy your weekend!

Wednesday, October 6, 2010

Wedding card

I created the card below for my husbands sweet cousin Dayna who just got married. I was bummed we couldn't go to the wedding in Michigan but I hope she like the card.


I used the Love letter DSP,
Baroque Motifs stamp set
and Teeny Tiny Wishes stamp set.
It is stamped on very vanilla cardstock
with real red and basic black cardstock and real red inkpad.


I punched the flower with the scallop circle punch and several layers of DSP. I scrunched it all up and secured it with an Antique brad. The sentiment is punched with word window and modern label punches.

Have a beautiful day!

Tuesday, October 5, 2010

Phoenix Weather


We have had some crazy weather today in Phoenix.
A storm rolled in today and as my husband and I were driving I noticed these clouds rolling in. They were moving so fast it looked like smoke from a fire or something you would see in a movie. I made him stop so I could take some pictures. There are a lot of not so attractive things in the pictures but you can see what a massive group of clouds it was. The last picture shows the hail that came down. It looks like snow. It was very scary in the car. I thought the windows were going to crack. Unfortunately we now have several dents on the hood of the car.


Tonight it is nice and cool outside. Finally! Just yesterday it was still over 100 degrees. I hope it sticks around.

Have a happy day!

Thursday, September 30, 2010

Outdoor Bench Re-Do


I have never done a post about re-doing furniture before. I usually only look at stamping blogs but lately I have been in blog heaven. I am addicted to blogs about decorating ( always have wanted to be an interior designer). My eyes get buggy at night because I can't stop going from blog to blog. One of my favorite blogs is Mustard Seed Creations. I also love all of the blogs she has as her favorites. Ugh! So much to look at and only so many hours in the day. Anyway, she does a post on Fridays that anyone who has done a furniture re-do can link to her blog. I have never done a link party before and I am not quite sure how to do it. In my determination to learn more about blogging and become a better blogger I thought I would try it. Since I just re furbished my worn out bench on my front porch I thought it was a good time to break out of the box.


Before!


This is the whole front porch before. In all it's glory with the bird poop and dead flowers. I have been waiting for nicer weather to do this. But, it seems that it is never going to get below 100 degrees in Arizona this year so I just couldn't take it anymore.


Here it the after! I love it! So much better and I love the color, as red is my favorite. I bought red spray paint and sprayed the entire bench. I had some brown paint and just rubbed it all over the whole bench rubbing some of the brown off in areas to give it contrast and then sprayed polyurethane over the whole thing.


This is the whole porch after! No more bird poop, new planters and plants. I even washed all the dust off the door and cleaned the windows. Then I had to take a dip in the pool. I can't wait for some fall weather. I am so jealous of all of you that are getting cooler temps.
Well I hope your Friday is awesome!

I linked up to mustard seed creations and just a girl!